How to set up conversion tracking with Events Manager
New! Events Manager (Previously Conversion Tracking) is the new centralized hub to manage your Twitter Website Tag, as well as, set up conversion events to tell our system what actions you want to track. The current version of Events Manager will house only web-based conversion events, while Conversion Tracking will continue to host mobile app-based events.
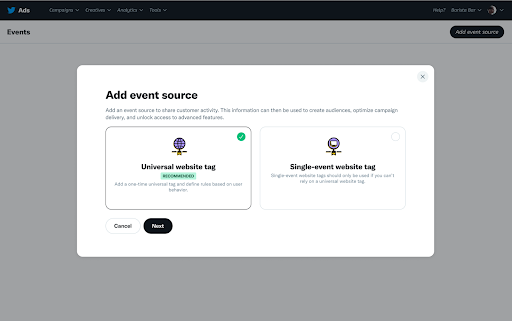
There are two types of website tags to choose from: Universal website tag: a single html code snippet that can be placed across your entire website to track multiple site actions or conversions. We recommend using this website tag to track multiple actions in a consistent manner. Single-event website tag: a unique snippet of code that can be used to track a single non landing page loading action, such as a subscribe button.
For most advertisers, we recommend using the Universal Website Tag, as it simplifies the tagging process and allows for tracking of a user’s journey across your entire website.
In rare cases, you may need a Single Event Tag to track a conversion for a non-page loading event (i.e. downloading a white paper or submitting a registration form).
Note: If your key KPI is Site Visits, we recommend using a JavaScript universal website tag to take advantage of the benefits of Click ID. Click ID is a unique identifier that is automatically appended in the URL to provide a reliable method to track site visits in a world without third-party cookies, and Twitter are planning to expand their conversion events in the future.
Step #2 – Generate and install your website tag
The Ad Manager or Power Editor on Facebook is where you can create a new pixel code or locate one you have already created.
Log into your ads account at ads.twitter.com
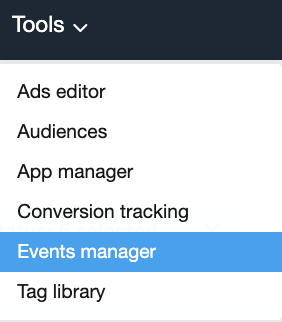
Under “Tools,” select “Events Manager”
Not seeing a Tools tab in your account? This is likely because a credit card hasn’t been added to your account.
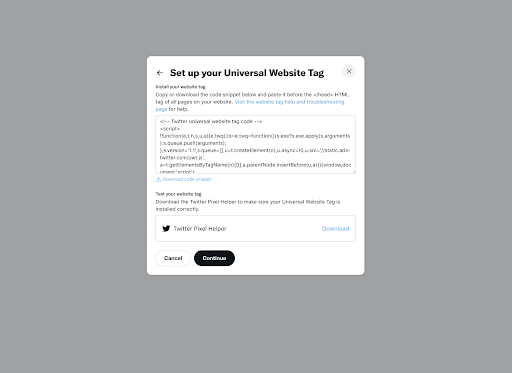
Step #3 – Implement the Twitter Website Tag HTML Code and Create your conversion event(s)
Once your tag is placed on your site, it’s time to create your conversion event. That is, you’re ready to tell your tag what you want it to track. If you opted for a single-event tag, this is where you’ll create that as well.
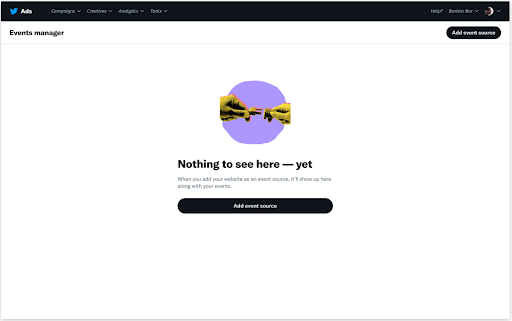
The following page will appear if you have not set up your event source (e.g Universal Website Tag or Single Event Tag)
Paste this code snippet just before the closing HTML tag of your web page, or inside a container tag or tag management system. You may need a developer or technical resource to help you implement it.
Please see third-party tools tracking section below for step-by-step instructions on tag management systems.
Note: A Universal Website tag only needs to be installed on your website once, and can be used across multiple campaigns. No need to create a new website tag for each campaign you run.
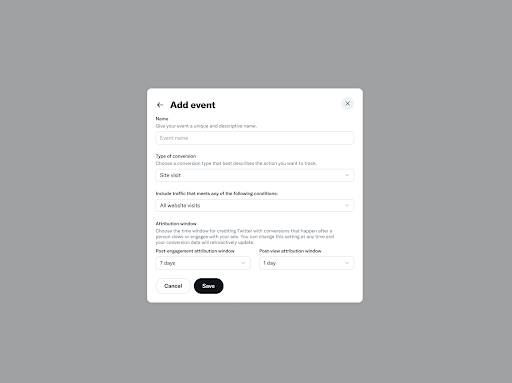
Want to track more than one conversion on your site? You’ll do this by creating a conversion event for each conversion you want your tag to track.
Input the information you would like to track. For example, if you would like to track Site Visits you are able to select the “type of conversion” and the following URL rules.
Troubleshooting the Facebook Pixel
If you’ve installed the pixel into your website, and your starting to notice tracking issues. You can contact us for more help or your Facebook’s Support team would best answer any questions about the integration.
Looking for Help with your Facebook Pixel
To arrange a short call with us to see how we can help you,
simply fill in the form below